iPhone Manual
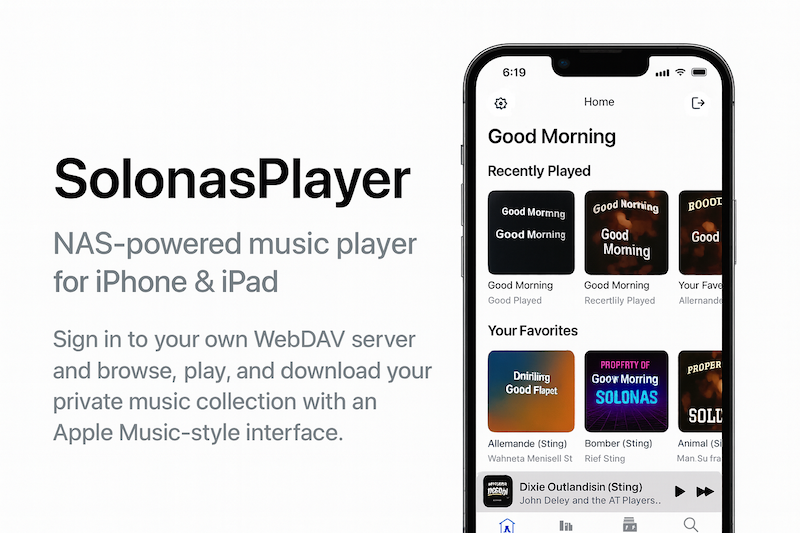
Everything you need to know about using SOLONAS on your iPhone - from connecting to your NAS to downloading music for offline listening.
Getting Started
Before you begin, make sure you have:
- An iPhone running a recent version of iOS
- A NAS or WebDAV server with your music files on it
- A Wi-Fi or cellular connection
Download the app
- Open the App Store on your iPhone Search for “SOLONAS” or “Solo NAS Player”.
- Tap Get The app is free to download and includes a 30-day free trial for new users.
- Open SOLONAS Once installed, tap the SOLONAS icon to get started. The app opens with a help section on the main screen to walk you through setup.
Sign In to Your Server
When you open SOLONAS for the first time, you’ll see the login screen. Enter your server details:
your-nas.example.com - your server’s address5006 - usually 5006 for HTTPS on Synology/music - the folder where your music livesFace ID
After your first login, you can enable Face ID for faster sign-in. Next time you open the app, just glance at your phone to log in - no retyping your password.
Subfolder login
If your music is organized in subfolders like /music/Playlists or /Audio,
enter that full path to jump straight to the right folder.
LAN or remote?
At home: Use your local IP (e.g. 192.168.1.50) for the fastest connection.
Away from home: Use your public address or domain with HTTPS for secure remote access.
Browse Your Music
After signing in, you’ll see your folders and files. Tap a folder to open it, or tap a song to start playing.
- Navigate through your folder structure just like a file browser
- Tap the back button to go up one level
- Long press on tracks to select multiple files at once for bulk actions
Play a Song
Tap any audio file to start playing. The player appears with familiar Apple-style controls:
- Play / Pause - tap the center button
- Next / Previous - tap the forward or back buttons
- Scrub - drag the progress bar to jump to any point in the track with precise control
The player shows the file type (MP3, FLAC, etc.) of the track being played, so you always know what format you’re listening to.
Supported formats
DJ Fade
DJ Fade crossfades between tracks so one song blends smoothly into the next - no silence, no gaps.
- Open Settings Look for the settings section in the app.
- Turn on DJ Fade Toggle the DJ Fade switch. That’s it - your music will now crossfade automatically.
Playlists
Create playlists from your library and share them with your Apple Watch.
Create a playlist
- Browse to a song you want to add Navigate your folders and find a track.
- Add it to a playlist Use the playlist option to add the song to an existing playlist or create a new one.
Bulk add songs
Long press on any track to enter multi-select mode. Select as many songs as you want, then add them all to a playlist in one shot.
Share to Apple Watch
Share any playlist from the iPhone app to your Apple Watch. Your playlists will appear in SOLONAS on your Watch, ready to play - perfect for runs, walks, or any time you want to leave your phone behind.
Offline Mode
Download music to your iPhone so you can listen without a network connection.
- Find a folder you want to download Navigate to any folder in your library - an album, a playlist folder, or a mix.
- Swipe left on the folder A download option appears. Tap it to download the entire folder to your iPhone.
- Listen anywhere Your downloaded music is available offline. Play it on a plane, in the subway, or anywhere without Wi-Fi.
Need Help?
- Can’t connect? Double-check your Server, Port, Path, Username, and Password. Try opening the URL in a browser first to make sure it works.
- Face ID not working? Make sure Face ID is enabled in your iPhone’s system settings and that you’ve logged in manually at least once first.
- No music showing? Make sure your NAS/WebDAV folder contains audio files and that your user has permission to access them.
- Offline songs missing? Re-download the folder by swiping left on it again. Make sure the download completed before going offline.
- Still stuck? Visit the FAQ, the Synology Setup Guide, or contact support.