Synology NAS
Synology WebDAV Setup
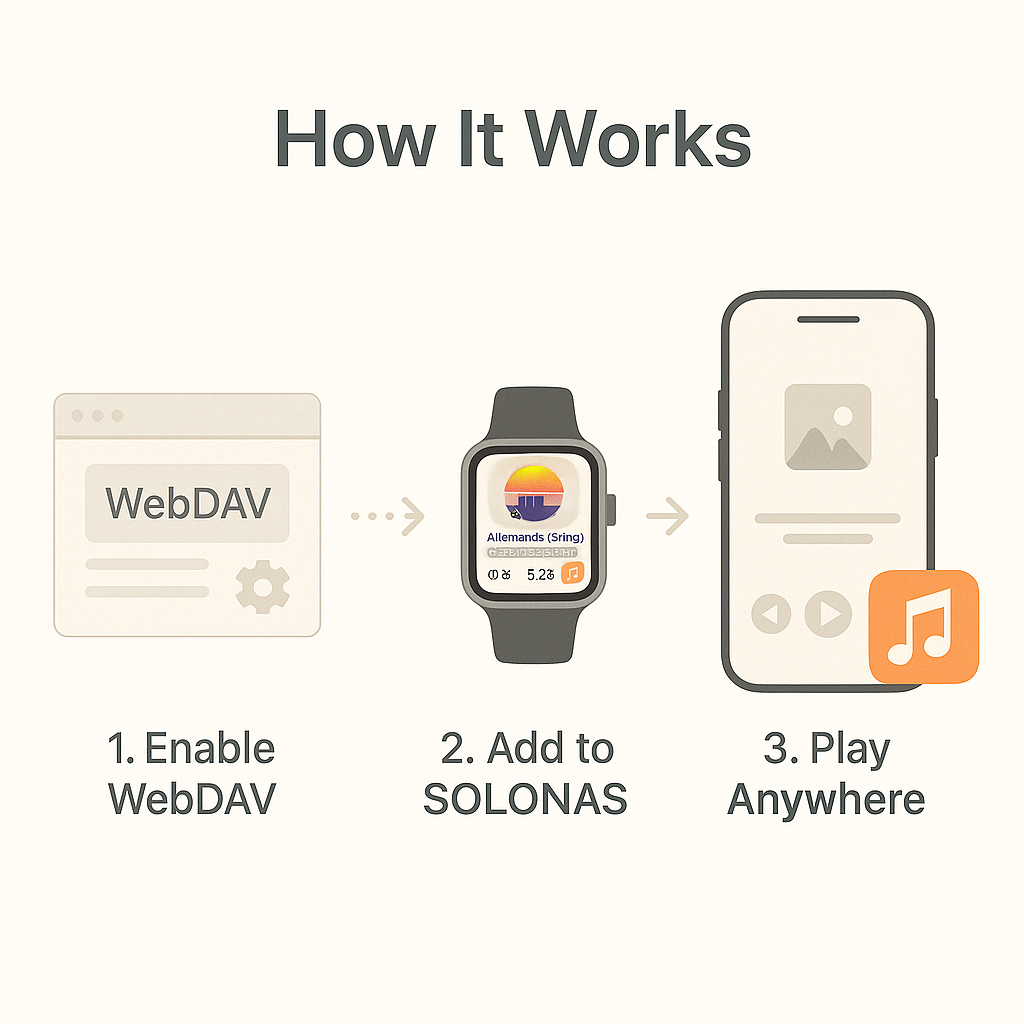
Enable secure WebDAV on your Synology, grant access to your music folder, and stream directly to iPhone and Apple Watch with SOLONAS.
Prerequisites
Synology NAS
Running DSM with admin access
Music folder
A shared folder with your MP3 files (e.g. /music)
Network access
LAN or remote access via HTTPS
Setup Steps
1. Install & enable WebDAV
- Open Package Center and install WebDAV Server.
- Open WebDAV Server and go to the General tab.
- Enable HTTPS (recommended). Note the port - commonly 5006.
- Apply changes and keep the service running.
Tip: If you only use SOLONAS on LAN, you can skip port forwarding.
2. Create a WebDAV user
- Open Control Panel then Users and Groups.
- Create a new user (e.g.
solonas). - Grant read access to your music folder.
- Keep permissions read-only while you test.
You can use an existing user, but a dedicated account is cleaner.
Build Your URL
SOLONAS connects to your NAS using a clean HTTPS WebDAV URL. Enter these details in the app:
- Host
your-nas.example.comor192.168.1.20- Port
5006(HTTPS default)- Path
/music(your root folder)- Username
solonas- Password
••••••••
Local only? Use your NAS local IP, e.g. https://192.168.1.20:5006/music
Common Pitfalls
Certificates
Use a trusted certificate (e.g. Let's Encrypt) for remote access. Self-signed certificates can work on LAN but some clients warn.
Empty library
Confirm your Path exists and contains MP3 files. Check user permissions on the shared folder.
Authentication fails
Reset the user password and try simple alphanumerics during testing. Avoid unusual characters in the username.
LAN vs. remote
LAN requires only a local IP or hostname. Remote access needs your router to forward HTTPS to your NAS for off-site streaming.
Pro Tip
Keep your music in a simple folder structure (Artist / Album / Tracks). Short paths sync faster and are easier to browse on the Watch.